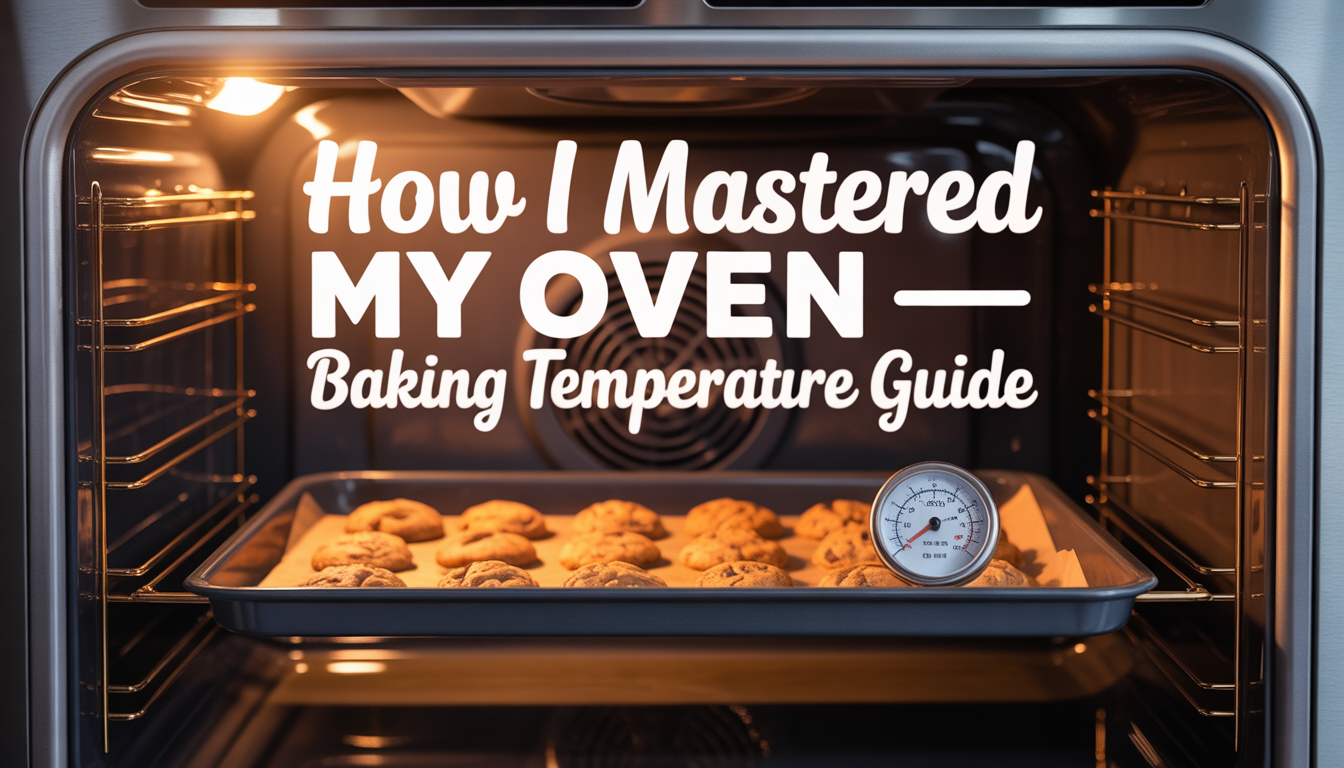
For the first three years of my adult life, I treated my oven like a temperamental god that required a sacrificial offering of burnt cookies and raw-centered cakes. I would stare through the greasy glass door, pleading with a dial that clearly had its own agenda, wondering why “350°F” resulted in a blackened tray of charcoal in my apartment but a perfect batch of muffins at my mom’s house. I was convinced my oven was haunted by the ghost of a disgruntled pastry chef until I realized that an oven thermometer is ten dollars, and my “calibrated” dial was actually a pathological liar. It turns out, mastering your oven isn’t about luck; it is about realizing that heat is a tool, not a suggestion, and stopping treating the “Start” button like a game of Russian Roulette.
The Great Calibration Lie:
The most important lesson I ever learned in the kitchen was this: your oven is lying to you. When the little “preheat” beep goes off, your oven is essentially telling you a bedtime story. Most internal sensors are located near the heating elements, meaning the air in the center of the oven, where your food actually lives, is often 25 to 50 degrees colder than the display claims.
I spent months producing “pale” breads and soggy pizzas because I trusted the machine. Once I bought a standalone oven thermometer, I discovered that my oven took an extra twenty minutes to reach a stable temperature after the beep sounded. This is the foundation of baking precision. If you don’t know the true temperature of your “box of heat,” you are just guessing. This gap between the display and reality is the primary cause of baking failure for beginners. Mastering your oven starts with verifying the truth.
The 25°F Rule: Understanding Heat Increments:
In the world of professional baking, 25 degrees is the difference between a masterpiece and a disaster. We often think of heat as a sliding scale, but it is better to think of it in distinct “zones.” Each 25-degree jump triggers a different chemical reaction in your dough or batter.
- 325°F (The Slow Zone): This is for delicate items like cheesecakes or large roasts that need to cook evenly without the outside drying out.
- 350°F (The Goldilocks Zone): The universal standard. It is hot enough to trigger the Maillard reaction (browning) but gentle enough to cook the center of a cake.
- 375°F (The Crisp Zone): Perfect for cookies that need a bit of snap or roasted vegetables that need caramelized edges.
- 400°F and Above (The Blast Zone): This is for puff pastry, bread, and pizza—anything that needs an instant “burst” of steam to rise before the crust sets.
When I stopped just blindly following recipe instructions and started asking, “What is the goal of this temperature?”, my culinary intuition skyrocketed. If you want a soft, chewy cookie, you stay at 350°F. If you want a thin, crispy one, you bump it to 375°F. You are the conductor; the temperature is the volume.
The “Cold Spot” Investigation:
No oven heats perfectly evenly. Every unit has “hot spots” (usually the back corners) and “cold spots” (often near the door). I mastered my oven by performing the “White Bread Test.”
I lined an entire oven rack with cheap slices of white bread and “baked” them at 350°F for ten minutes. When I pulled the tray out, I had a literal map of my oven’s personality. The slices in the back left were nearly black, while the ones in the front right were barely toasted. This taught me that rotating my pans halfway through the baking time wasn’t just a suggestion, it was a requirement for survival. If you don’t know where your oven hides its heat, you will always have one half of a tray that is perfect and one half that is overdone.
Convection vs. Conventional: The 25% Math:
When I moved into a kitchen with a “Convection” setting, I thought I had graduated to the big leagues. Then I burnt my first three batches of brownies. Convection ovens use a fan to circulate hot air, which speeds up the evaporation of moisture and transfers heat more efficiently.
The “Secret Rule” for convection is the 25/25 rule. You either lower the temperature by 25°F, or you reduce the total baking time by 25%. If a recipe calls for 350°F for 20 minutes in a standard oven, your convection oven will finish it at 325°F in the same time, or at 350°F in 15 minutes. Understanding this mechanical difference is vital. Convection is amazing for roasting chickens (extra crispy skin!) and cookies, but it can be too aggressive for delicate cakes that might “tilt” because of the air blowing against the batter.
The Science of the “Oven Spring”:
In bread baking, the first ten minutes are everything. This is called “Oven Spring.” When the cold dough hits the hot air, the gases inside expand rapidly. If your oven isn’t hot enough, the bread will set slowly and stay flat. If it is too hot, the crust will harden before the bread has a chance to grow.
I found that for the best artisan bread results, I need to start the oven at 450°F to get that initial “explosion” of growth, then lower it to 400°F to finish the bake. This mimics the professional stone ovens used in bakeries. It’s all about managing the “crust set.” If you want that dramatic, airy interior, you have to master the high-heat start. This is a level of baking mastery that turns a home cook into a neighborhood legend.
Humidity: The Forgotten Ingredient:
Heat is only half the story; the other half is moisture. Professional ovens have steam injectors. Your home oven is a “dry heat” environment, which is actually the enemy of crusty bread.
I started putting a pan of boiling water on the bottom rack five minutes before I put my bread in. The steam keeps the surface of the dough “elastic,” allowing it to expand further. It also helps gelatinize the starches on the crust, giving you that shiny, crackly finish. Once the bread has finished its “spring,” I remove the water to let the heat dry out the crust for the final crunch. This moisture management is a game-changer for anyone serious about sourdough or baguettes.
Learning from the “Exploding Cobbler”:
I once tried to bake a deep-dish fruit cobbler at 425°F because I was in a rush and thought “hotter is faster.” Within fifteen minutes, the fruit filling had reached a violent boil, breached the crust like a volcanic eruption, and coated the bottom of my oven in a thick, sugary tar that smoked so badly the fire department nearly visited me.
That disaster taught me that thermal mass matters. A heavy, dense dish needs a lower temperature for a longer time so the heat can travel to the center without the outside becoming a charred mess. Speed is the enemy of even cooking. Now, I respect the “low and slow” philosophy for anything thick or fruit-heavy. My “Experience” with the smoke detector was a harsh teacher, but it made me a much more patient cook.
The “Carry-Over” Cooking Factor:
Mastering the oven also means knowing when to turn it off. One of the biggest mistakes I made early on was cooking meat or bread until it reached the exact “target” temperature inside the oven.
Heat moves from the hot exterior of the food toward the cooler center. Even after you pull a roast out of the oven, the center temperature will continue to rise by 5 to 10 degrees. This is carry-over cooking. If you want your steak at 135°F, you pull it at 130°F. If you leave it in until 135°F, you will end up with a “medium” steak instead of “medium-rare.” Respecting the rest period is part of the oven master’s code.
Why “Room Temperature” Matters Before Baking:
Your oven temperature is relative to the starting temperature of your food. If you take a freezing cold cake batter and put it into a 350°F oven, the “thermal shock” will cause the outside to cook while the center stays liquid for too long.
I make it a rule to let my ingredients sit on the counter for at least thirty minutes before they go into the heat. Room temperature eggs emulsify better, and room temperature butter creates a lighter crumb. By narrowing the gap between the food and the oven, you ensure a symmetrical bake. It seems like a small detail, but it is the difference between a “home-made” look and a professional finish.
Rack Position: The Vertical Strategy:
Where you put the rack is just as important as the number on the dial. The top of the oven is usually the hottest because heat rises. The bottom of the oven is best for “crust-heavy” items like pizza because it is closest to the heating element.
- The Top Rack: Best for “au gratin” dishes or anything you want to brown quickly.
- The Middle Rack: The safe haven. 90% of your baking should happen here for even air circulation.
- The Bottom Rack: Best for roasted potatoes or pies where you want to avoid a “soggy bottom.”
I used to just leave my rack in the middle and wonder why my pizza crust was limp. Once I started utilizing vertical space, I gained a new level of control over my textures. Your oven is a 3D environment; use every inch of it.
The “Double Check” with Skewers:
Even with a perfect thermometer and a calibrated oven, every piece of fruit and every batch of flour is different. I never rely solely on the timer. I use the “Visual and Physical” checks.
The “Toothpick Test” is classic for a reason. If it comes out with wet batter, it’s not done. But I’ve upgraded to a metal skewer. Why? Because I can touch the skewer to my lip. If it feels cold, the center is raw. If it feels hot, it’s done. This tactile feedback is a “Secret Hack” that ensures I never serve a “lava cake” that wasn’t supposed to be one. It’s about using all your senses, sight, smell, and touch, to verify what the oven is telling you.
Preheating for “Real” Results:
I’ve mentioned this before, but it deserves its own section: the preheat beep is a liar. Most ovens signal they are “ready” when the air hits the target temperature, but the walls of the oven are still cold. The moment you open the door to put your tray in, all that hot air rushes out, and the temperature drops by 100 degrees.
Because the walls aren’t hot enough to radiate heat back, the oven struggles to recover. I wait at least 15 minutes after the beep before I start baking. This ensures the “thermal mass” of the oven itself is hot. When the walls are hot, the temperature stays stable even when the door is opened. This thermal stability is the key to perfect cookies that don’t spread into one giant “mega-cookie.”
The “Broiler” Fear and How to Overcome It:
The broiler is basically an indoor grill. It is terrifying because things go from “perfect” to “on fire” in about twelve seconds. I used to avoid the broiler entirely, but now it is my favorite finishing tool.
The “Master Tip” for the broiler is to never close the door completely. Most ovens have a “stop” position where the door stays cracked open an inch. This prevents the oven from overheating and turning off the element, and it allows you to keep an eye on the food. Whether it is charring peppers or melting cheese on a French onion soup, the broiler provides that “restaurant finish” that a standard bake can’t touch. Just don’t walk away to check your phone, or you will be ordering pizza for dinner.
Stone and Steel: Artificial Floor Heat:
If you find that your oven just doesn’t have enough “oomph” for bread or pizza, you need to add some mass. I keep a baking stone on the bottom rack of my oven almost all the time.
The stone acts as a “heat battery.” It absorbs energy while the oven preheats and releases it slowly and steadily. This prevents the “temperature swings” that happen when the heating element cycles on and off. If you are a serious pizza lover, a baking steel is even better. Steel conducts heat faster than stone, giving you those “leopard spots” on the bottom of your crust. It’s an easy way to “upgrade” a standard home oven into a high-performance baking machine.
Cleaning for Better Heat Flow:
A dirty oven is an inefficient oven. If your oven walls are coated in burnt-on grease and carbon, they can’t reflect heat effectively. This leads to “uneven” baking and a weird, smoky smell that can infuse itself into delicate pastries.
I do a “Deep Clean” every three months. I avoid the “Self-Clean” cycle because it can actually damage the sensitive electronics in modern ovens by getting too hot. Instead, I use a simple paste of baking soda and water. It’s more work, but it keeps the oven efficiency high and prevents your kitchen from smelling like a chimney fire. A clean oven is a predictable oven.
Conclusion:
Mastering your oven is a journey of trial and error, but once you stop trusting the dial and start trusting the science, the results are life-changing. You move from being a “recipe follower” to a “heat manager.” You start to understand that every tray of food is a conversation between the air, the walls, and the ingredients. Don’t be afraid to experiment, don’t be afraid to buy a thermometer, and most importantly, don’t be afraid to fail. Even a burnt cake is a lesson that makes the next one taste even sweeter. Now, go turn that oven on, and wait twenty minutes after the beep.
FAQs:
1. Why does my cake always sink in the middle?
This usually happens if the oven temperature is too low or if you open the door too early. The “structure” of the cake hasn’t set yet, and the rush of cool air causes the air bubbles to collapse.
2. Can I bake two trays at once?
Yes, but you must leave space between them for air to circulate. You should also swap the top and bottom trays halfway through the baking time to account for the hotter air at the top of the oven.
3. What is the “Self-Clean” cycle for?
It is designed to burn off food residue at extremely high temperatures. However, many technicians recommend avoiding it because the extreme heat can “fry” the oven’s control board or blow a thermal fuse.
4. Why did my cookies spread so much?
Your oven was likely too cold, or your butter was too warm. If the oven isn’t hot enough to “set” the edges of the cookie immediately, the fat will melt and spread before the structure can form.
5. How do I know if my oven thermometer is accurate?
You can test it! Set your oven to 350°F and wait 30 minutes. If the thermometer says 350°F, you are good. If not, just remember the “offset” (e.g., “my oven runs 15 degrees hot”).
6. Should I use “Fan” (Convection) for everything?
Not necessarily. It is great for roasting and crisping, but for delicate items like soufflés, custards, or some cakes, the moving air can be too disruptive and cause uneven rising.
